
前言
這篇文章會使用一鍵安裝的方式來安裝 Stable Diffusion WebUI。
更詳細的WebUI使用方式可以看我之前發的 Mac 版教學-免費無限生成 AI 圖!Stable Diffusion WebUI 安裝及使用教學(Mac)
Stable Diffusion WebUI 是什麼?
- Stable Diffusion (穩定擴散) 是一個擴散模型,2022年8月由德國CompVis協同Stability AI和Runway發表論文,並推出相關程式。
- 圖形化介面:同年,AUTOMATIC1111開發了圖形化界面:「Stable Diffusion WebUI」,這是能用AI技術生成圖片的開源軟體。
- 免費:SDWebUI 可以免費在自己的電腦或伺服器跑,且只要遵照 Creative ML OpenRAIL-M授權條款的話,基本無使用限制。
- 跨平台:SDWebUI 已支援 Linux/Windows/MacOS 系統,以及 Nvidia/AMD/Intel Arc/Apple Silicon M 的GPU。
系統需求
- 顯示卡:至少 2GB VRAM 的 NVIDIA (GTX 7xx 以上)
- 記憶體:建議 16GB(含)以上
- 作業系統:Windows 10(含)以上
- 至少 10GB 磁碟空間
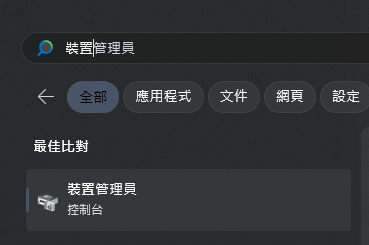
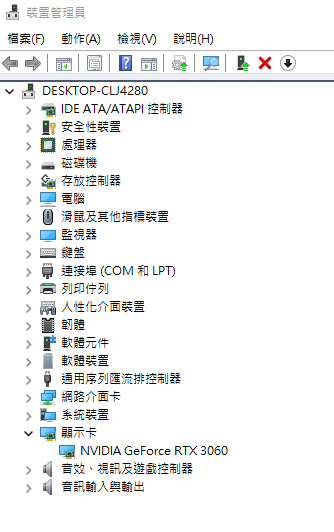
確認電腦 GPU
WebUI 尚未正式支援 Windows+AMD,但可以安裝 lshqqytiger 的使用 Direct-ml 的 webui 分支。更多請參考Install and Run on AMD GPUs
打開裝置管理員,展開顯示卡看看是用的哪家的
比如我的 GPU 就是 NVIDIA 的
安裝及啟動 WebUI
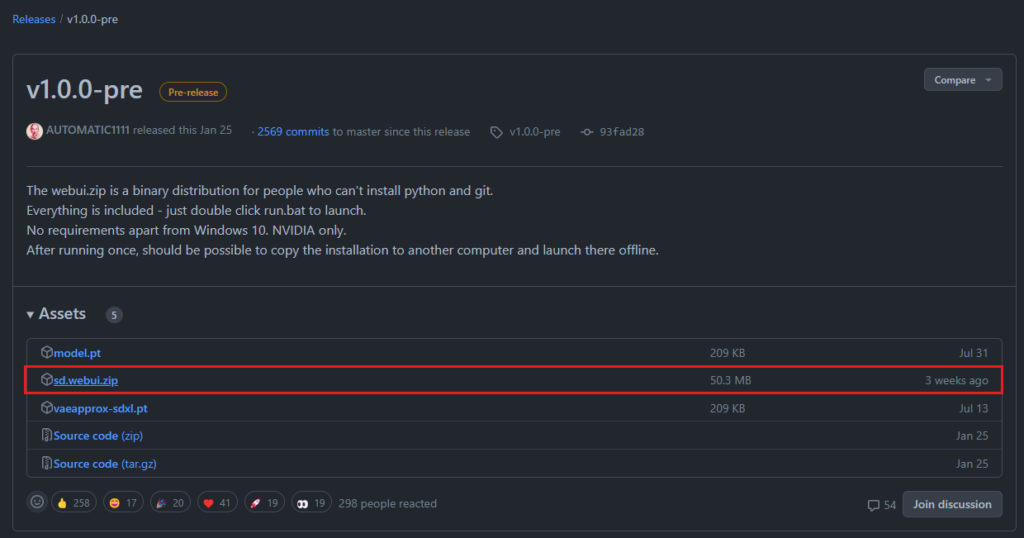
1.點擊 sd.webui.zip 下載
2.解壓縮到任意位置
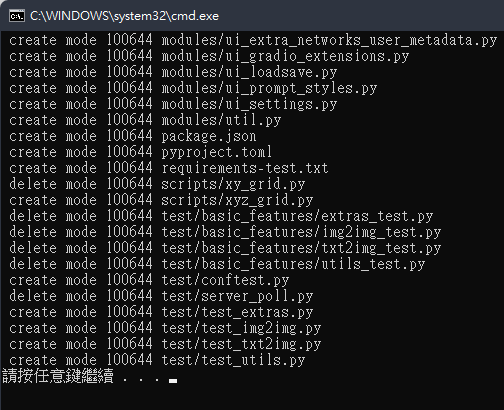
3.雙擊 update.bat 將 Web UI 更新到最新版本,直到看到”請按任意鍵繼續”就按 Enter 關閉 terminal。
4.雙擊 run.bat 啟動Web UI,首次啟動時會下載大量檔案(初次安裝可能需要幾十分鐘)。
5.正確下載並安裝所有內容後會看到一條訊息Running on local URL: http://127.0.0.1:7860,打開該連結就能使用。
- 運行過程中請不要關閉 terminal
- 要關閉的話直接在 terminal 按
ctrl+C就能結束 - 初次安裝完成之後每次使用只需要雙擊
run.bat就能啟動 Web UI
Troubleshooting
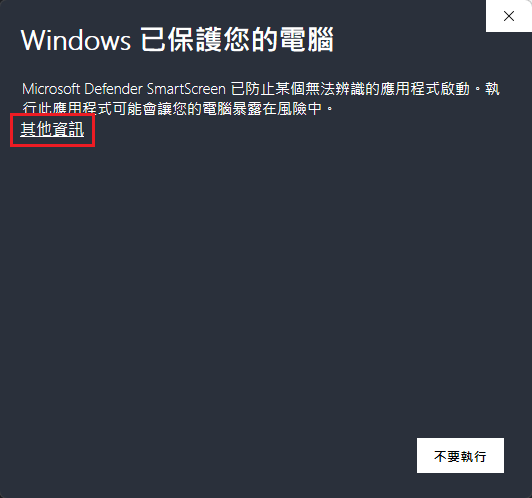
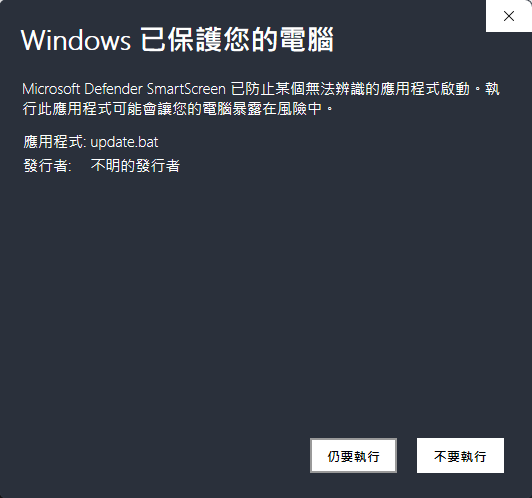
出現 Windows 已保護您的電腦
解決方式:
點 其他資訊 -> 仍要執行 即可
安裝 AI 模型
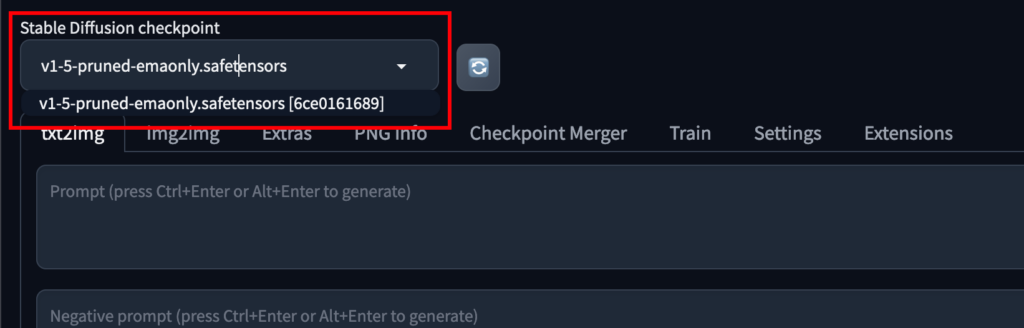
預設模型(checkpoint)只有一個,所以需要下載。
AI模型下載網站:Civitai
推薦幾個不錯的模型:
- GhostMix 遊戲角色 二次元 女性
- DreamShaper 3D 2D 動漫 景觀 寫實 科幻
- Cyberpunk Anime Style 賽博朋克 動畫
- 8bitdiffuser 64x | a perfect pixel art model 8bit 像素 卡通
- dvAuto 車 真實
單個 AI 模型動輒幾 GB,所以下載需要時間。
下載好的模型檔放到 sd.webui/webui/models/Stable-diffusion 目錄下然後重啟 run.bat。
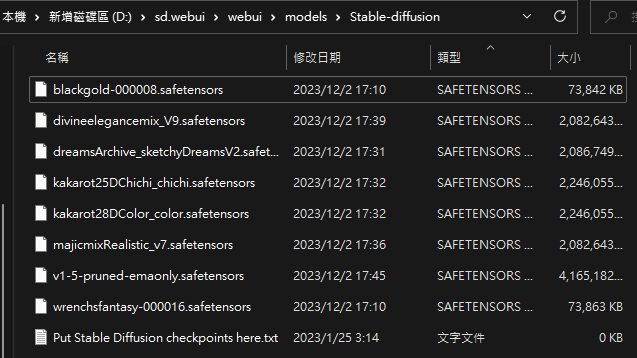
模型副檔名為
.safetensors
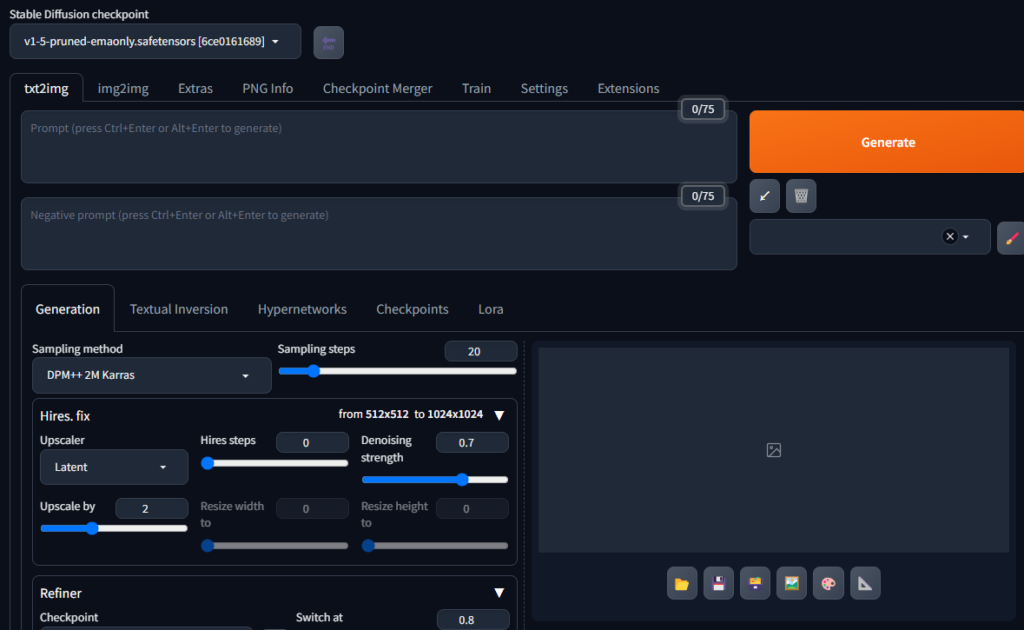
使用 AI 文生圖
有多種生成方式,不過最基本的就是這兩種:
- txt2img:文生圖
- img2img:圖生圖
先試用一下文生圖,上方是正面關鍵詞下方是負面關鍵詞:
- 每個關鍵詞之間用逗號
,隔開 - 關鍵詞也可以是一句話
- 關鍵詞只能用英文描述
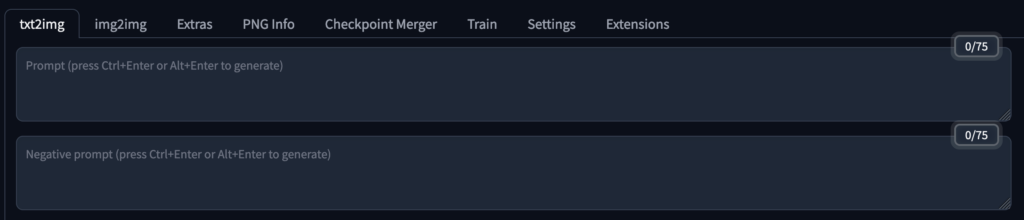
正面關鍵字用於描述生成的圖片應該擁有哪些內容:
(((from below, depth of field, dutch angle, green lighting))), floating hair, 1girl, solo, formal, hand in pocket, suit, black gloves, building, looking at viewer, black necktie, fingerless gloves, white shirt, city, outdoors, black jacket, belt, black pants, collared shirt, brown eyes, standing, long sleeves, grey hair, cityscape, open jacket, cowboy shot, skyscraper, black suit, night, pant suit, very long hair負面關鍵詞是用來避免 AI 生成這些內容:
(worst quality, low quality:1.4)Sampling steps(取樣步驟) 設為30, CFG Scale(關鍵詞相關性) 設為 7
這是生成後的結果:
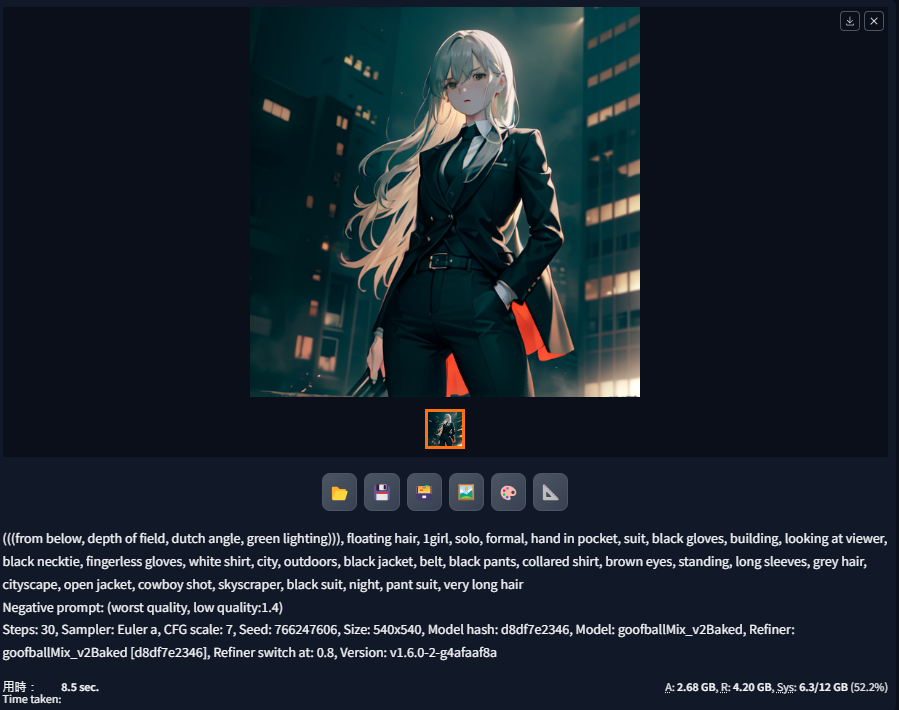
生成的圖片會自動保存到
sd.webui/webui/outputs/txt2img-images/<日期>目錄中,如果不要自動保存在Settings中將Always save all generated images取消勾選即可
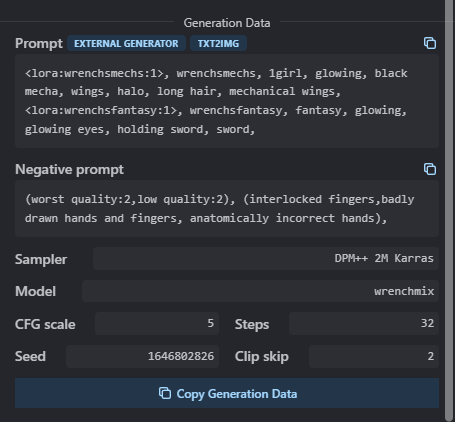
關於關鍵詞如何下、參數如何設置,可以參考civitai模型中的範例圖片,展開後會看到生成圖片用的關鍵詞和參數:
或者也有一些幫助生成關鍵字的插件,網上一搜就有滿多的。
更詳細的WebUI使用方式可以看我之前發的 Mac 版教學-免費無限生成 AI 圖!Stable Diffusion WebUI 安裝及使用教學(Mac) 或者推薦閱讀 最詳細的 Stable diffusion WebUI 操作教學 – txt2img
Troubleshooting
A tensor with all NaNs was produced in Unet
NansException: A tensor with all NaNs was produced in Unet. This could be either because there's not enough precision to represent the picture, or because your video card does not support half type. Try setting the "Upcast cross attention layer to float32" option in Settings > Stable Diffusion or using the --no-half commandline argument to fix this. Use --disable-nan-check commandline argument to disable this check.解決方式:
編輯 sd.webui/webui/webui-user.bat,在 COMMANDLINE_ARGS 後面加上 --no-half
set COMMANDLINE_ARGS=--autolaunch --update-check --no-half儲存後重啟run.bat
CUDA out of memory
安裝模型時發生了下方的錯誤:
torch.cuda.OutOfMemoryError: CUDA out of memory. Tried to allocate 50.00 MiB (GPU 0; 12.00 GiB total capacity; 9.68 GiB already allocated; 0 bytes free; 10.17 GiB reserved in total by PyTorch) If reserved memory is >> allocated memory try setting max_split_size_mb to avoid fragmentation. See documentation for Memory Management and PYTORCH_CUDA_ALLOC_CON解決方式:
可以試著在 sd.webui/webui/webui-user.bat 添加下面這行
set PYTORCH_CUDA_ALLOC_CONF=garbage_collection_threshold:0.6,max_split_size_mb:128儲存後重啟run.bat